Flat 10% Off and FREE Shipping on Prepaid Orders
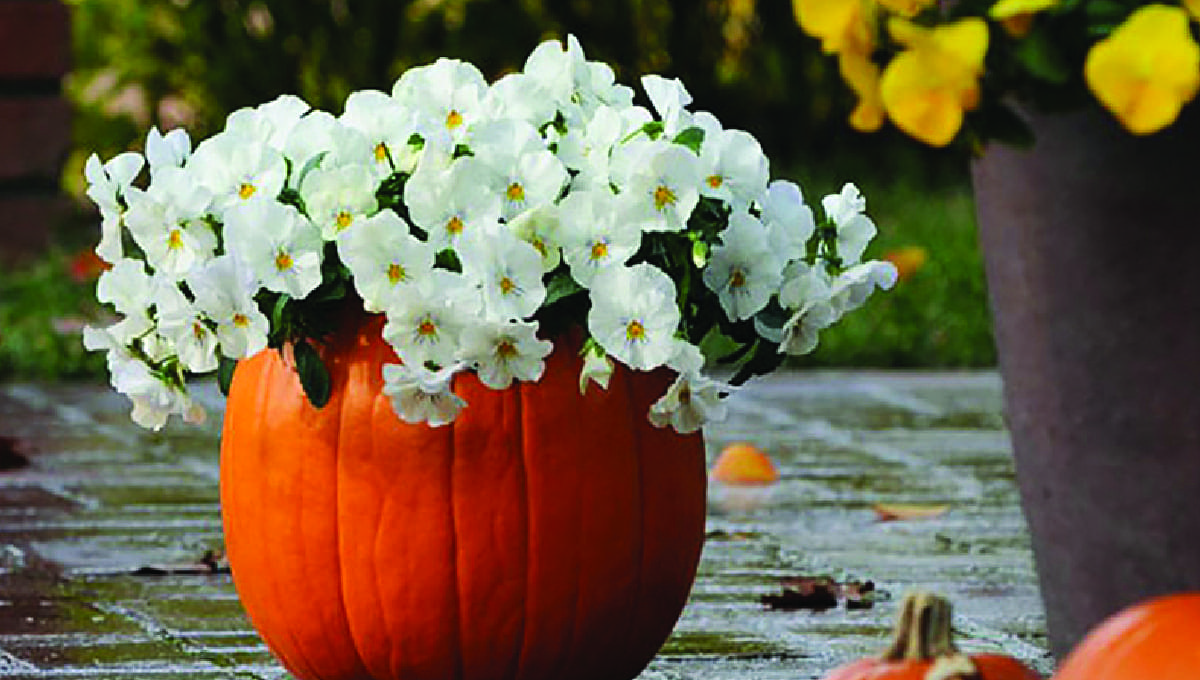
Comes up with the incipient twist of arranging a Pumpkin focal point with the right seasonal flowers. This is not a difficult process, it’s just as simple as buttering on bread, but the results are stunning. Today, we will learn how to make a centrepiece-carving a pumpkin planter for your traditional ceiling fall. So, lets start an impeccable way to set a harvest-themed table.
Note: If you want to plant 3-7 plants in one pumpkin, then you need 3 to 4-inch containers, depending on the size of the pumpkin. If you want to grow a single plant, then you need a container of 8-10 inch.
Step 1
Choose the right pumpkin size that sets perfectly according to the number of plants, the larger the pumpkin, the more plants you need.
Make sure it has a flat bottom so it sits upright and will rot quickly and doesn’t have any soft spots.
Cut off the big chunk of the top layer pumpkin using a knife. To maximize the width of the hole, you can cut down where the pumpkin is close to its widest. So, the hole is large enough to fit your plant(s).
Step 2
Using a sharp cutter scoop out the loose pulp and seed inside the pumpkin. Make it a hollow container to place your beautiful plants in it. Save the seed for a perfect treat or use it to grow a new pumpkin plant.
Step 3
Clean the pumpkin container from inside with a metal spoon. Make sure to perfectly scrap away the pulp to make it perfect for planting your beautiful flowers.
Step 4
Now, after cleaning the pumpkin from the inside, add soil into the hollow container. Fill the soil according to the number of flowers and the size of containers.
Drench the soil with Plantic Organic Start! Liquid fertilizer to make it a perfect base for organically stunning results.
Plant the flowers into it by simply placing the plant pot on top of the potting mix or after removing it from the pot.
Step 5
Decorate your plants or flowers as you want in the container.
If you want to plant a single mum, then place it in the middle of the pumpkin container. You can also use some artwork on the pumpkin and place some low growing plants to make the centrepiece more attractive!
Arrange your plants.
After planting or setting your loving flowers, water the container lightly.
Step 6
Place your decorative piece on a fall with the help of fall accessories like small scarecrows.
Make sure the container is placed on a waterproof plate
Since there is no drainage system in the pumpkin container. So, sparingly water the plants.
This centrepiece will last for 1-2 weeks in your house. For a longer arrangement, place it in a cool area.